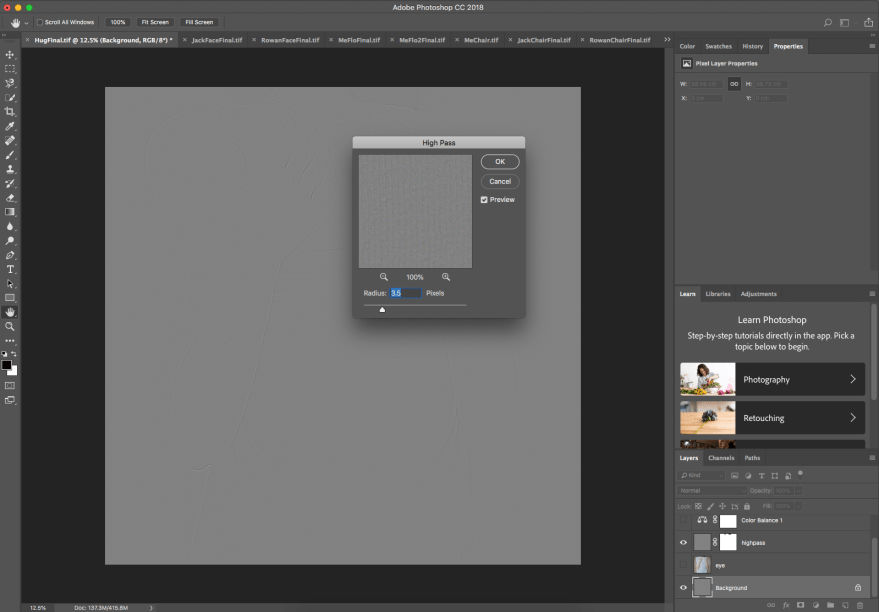
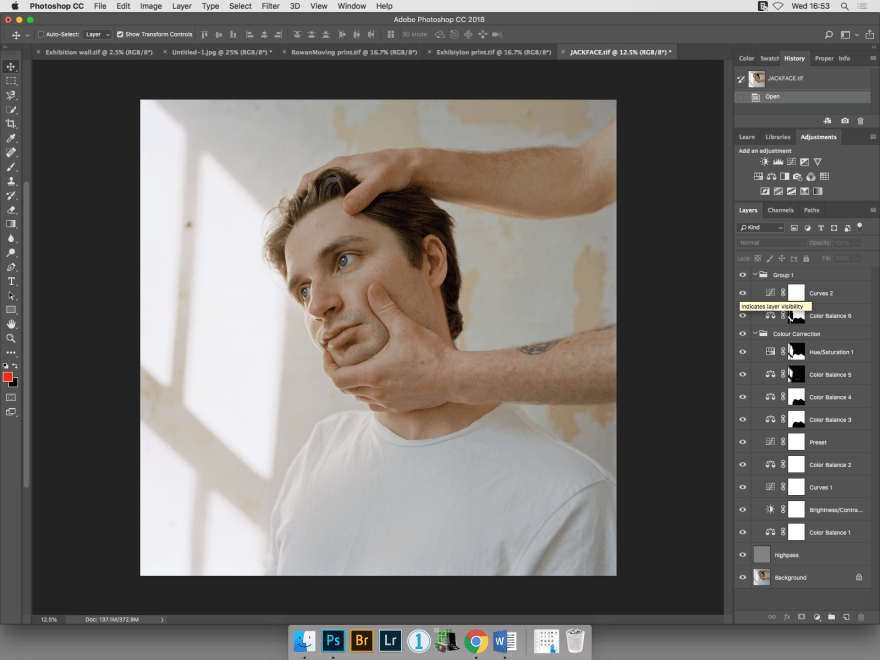
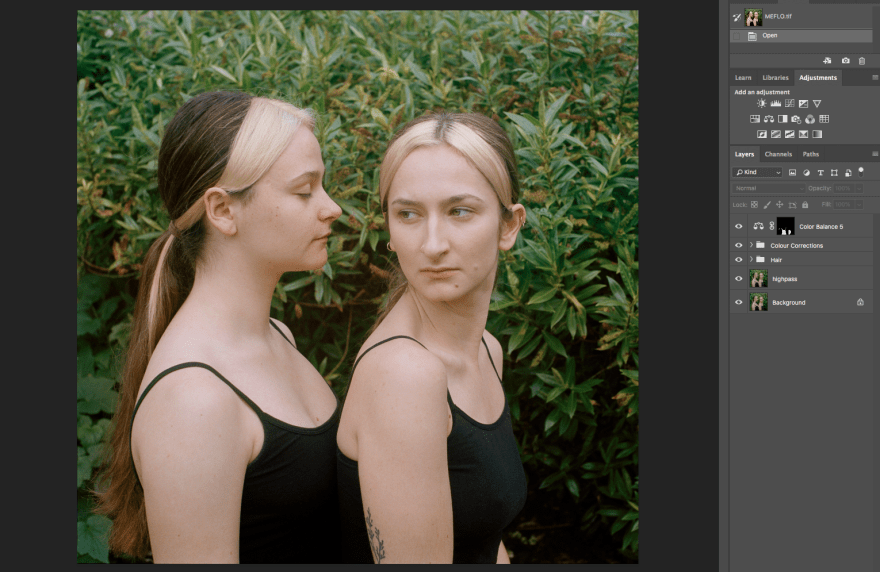
Highpass Post Production:


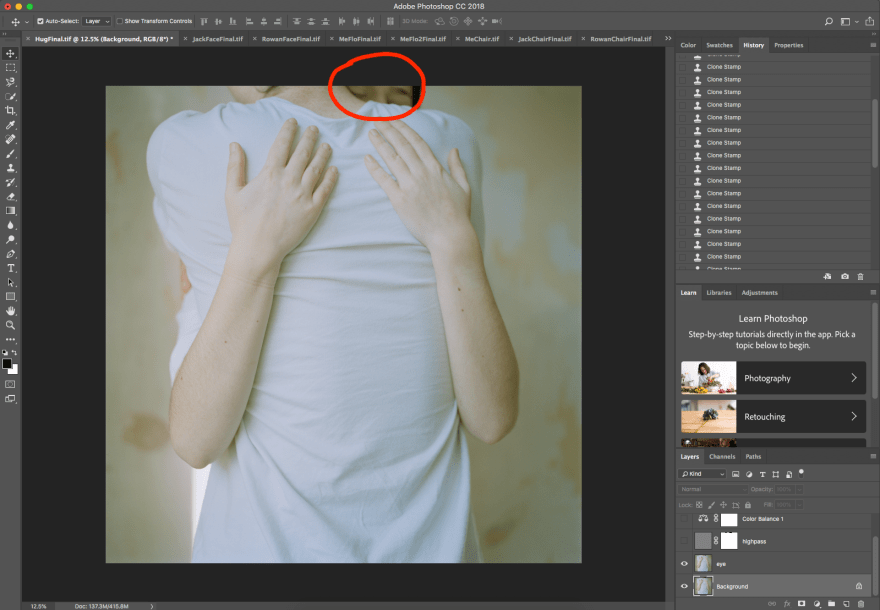
Colour Correction Post Production:
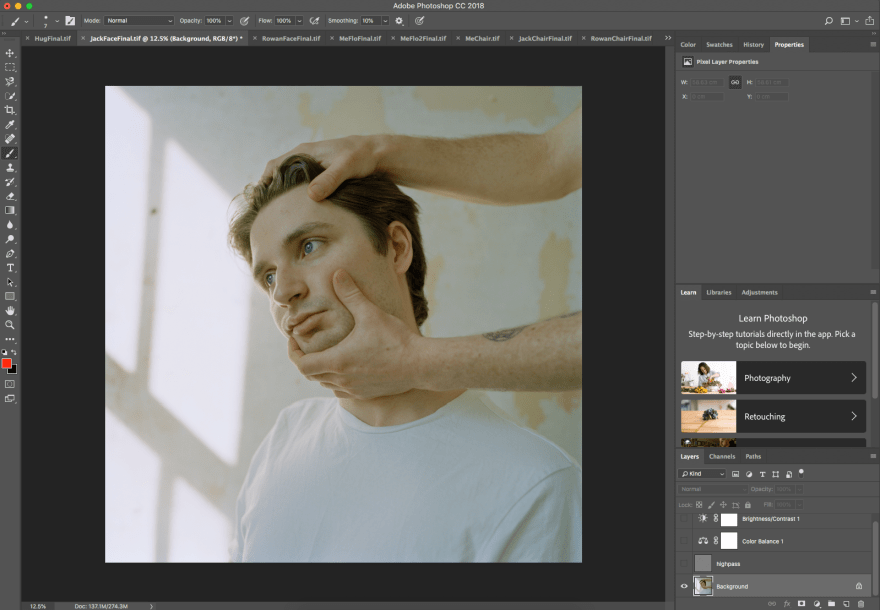
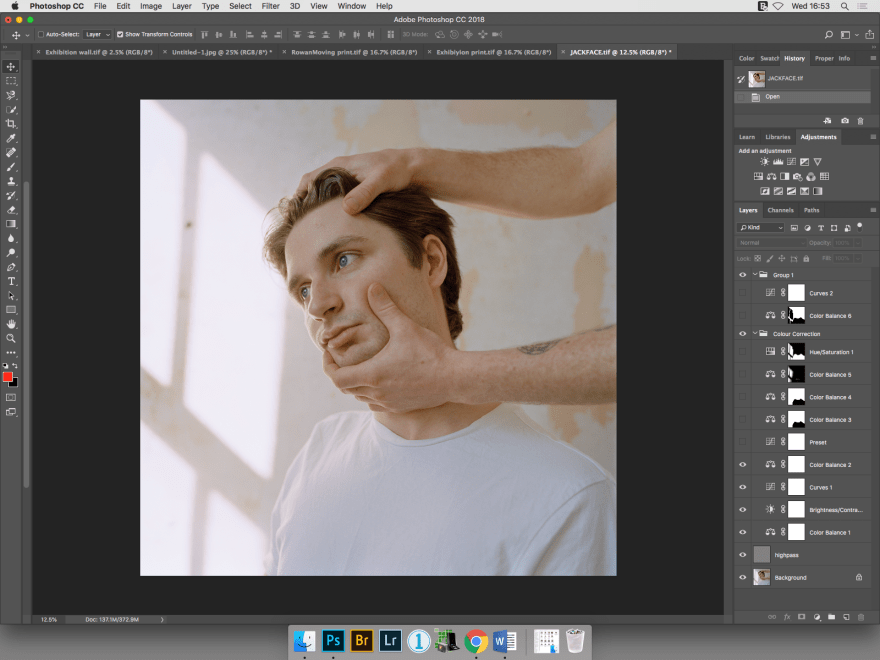
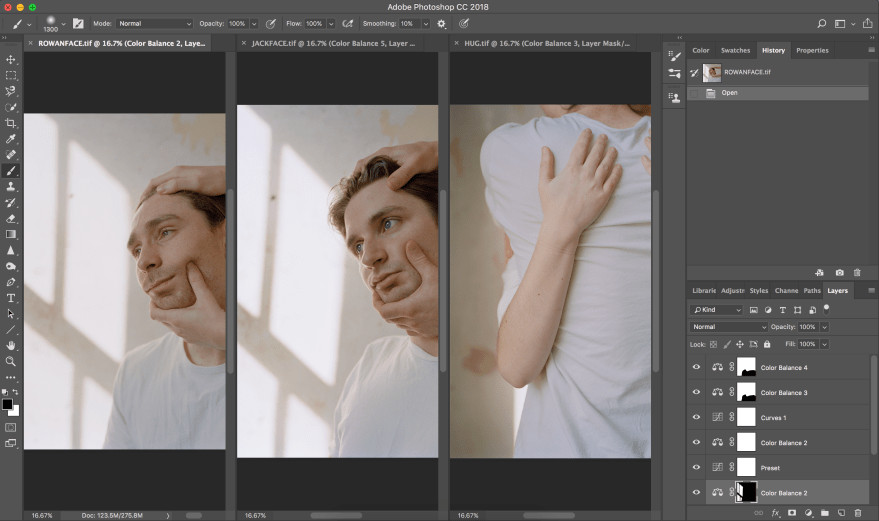
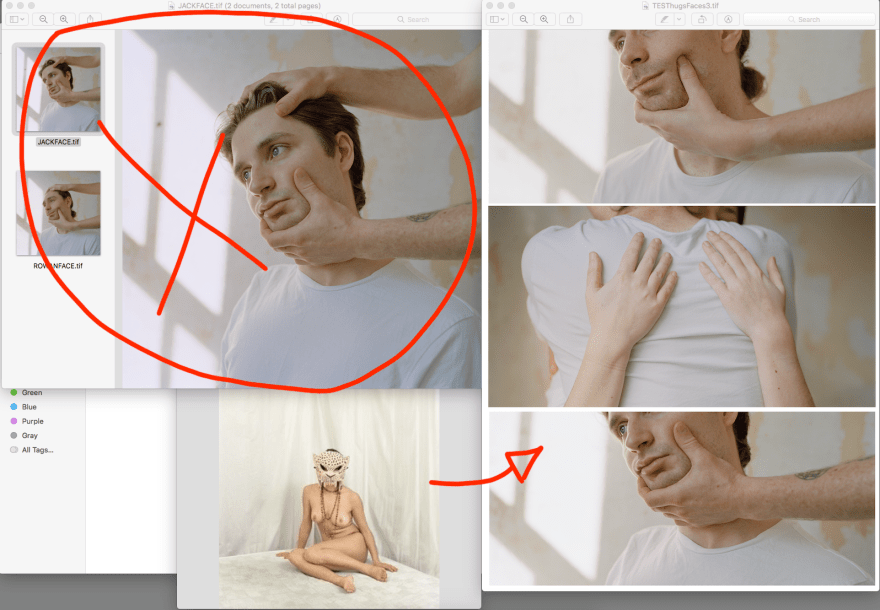
All of my images required a lot of colour correction, these are the very small stages I have used for the following portrait of Jack.

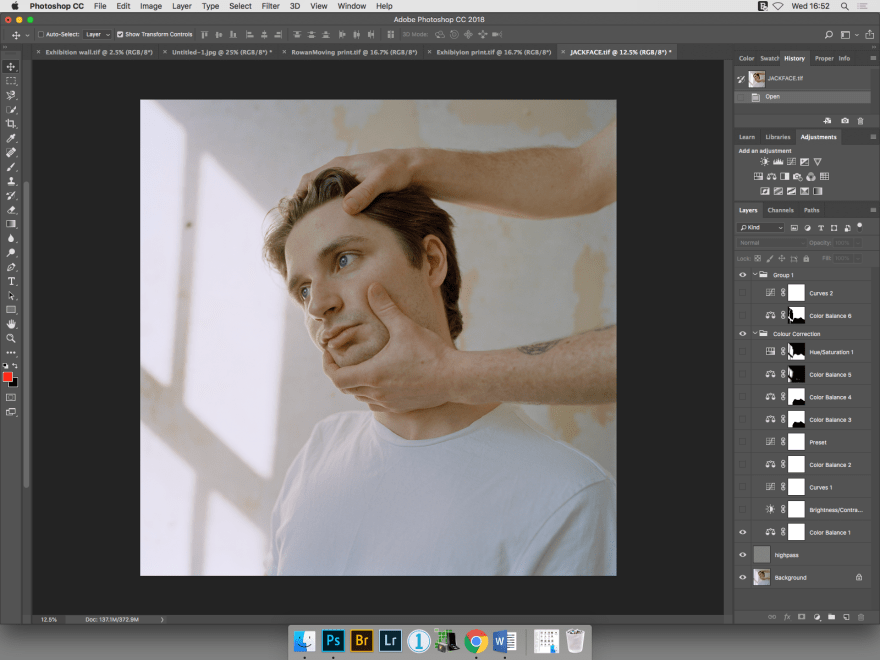


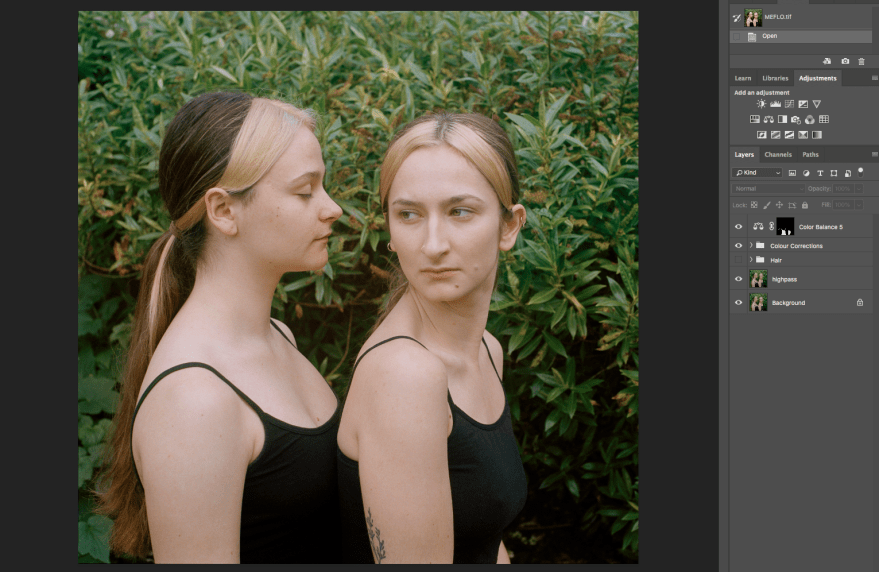
Hair Correction:
Here I have used lightening, saturation and curves along with mask layers to lighten our hair and make it tonally more white.
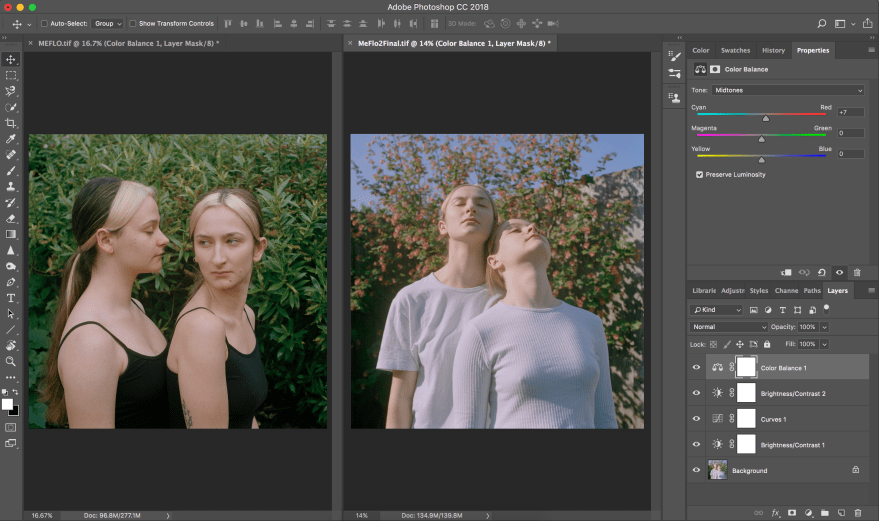
Comparing Colour Corrections:
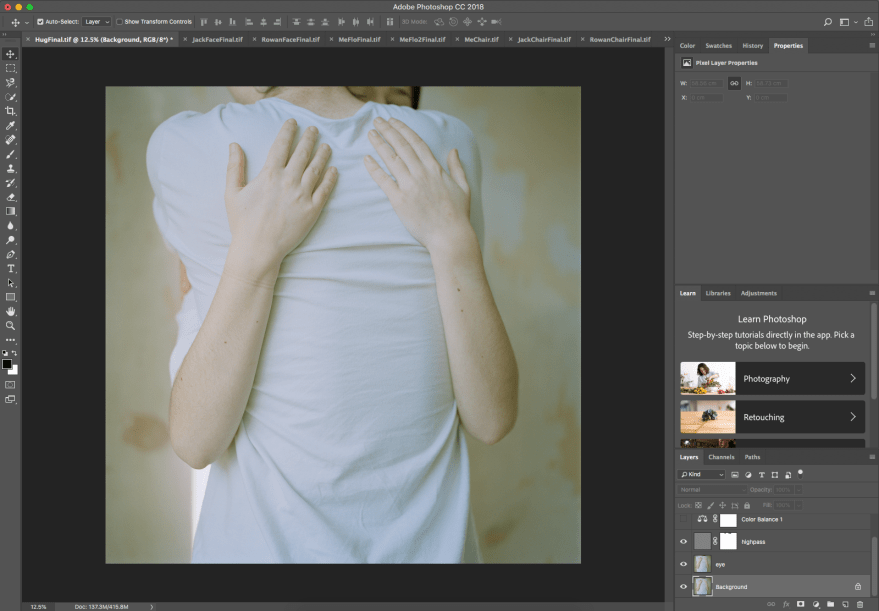
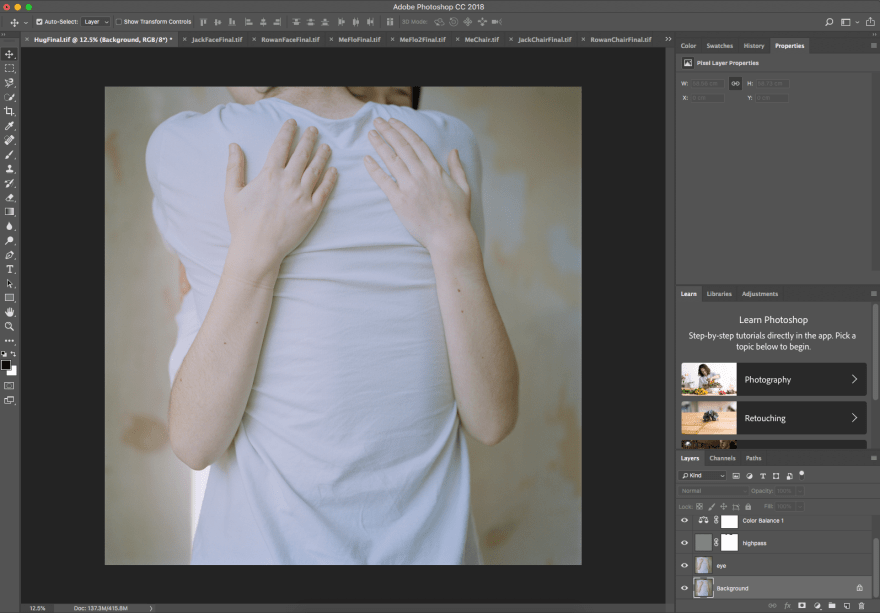
White Colour Corrections:
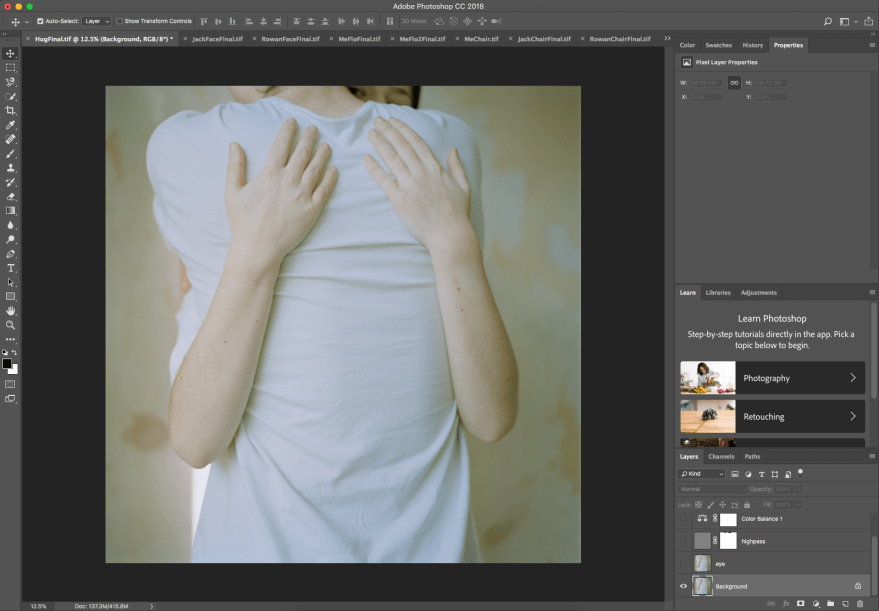
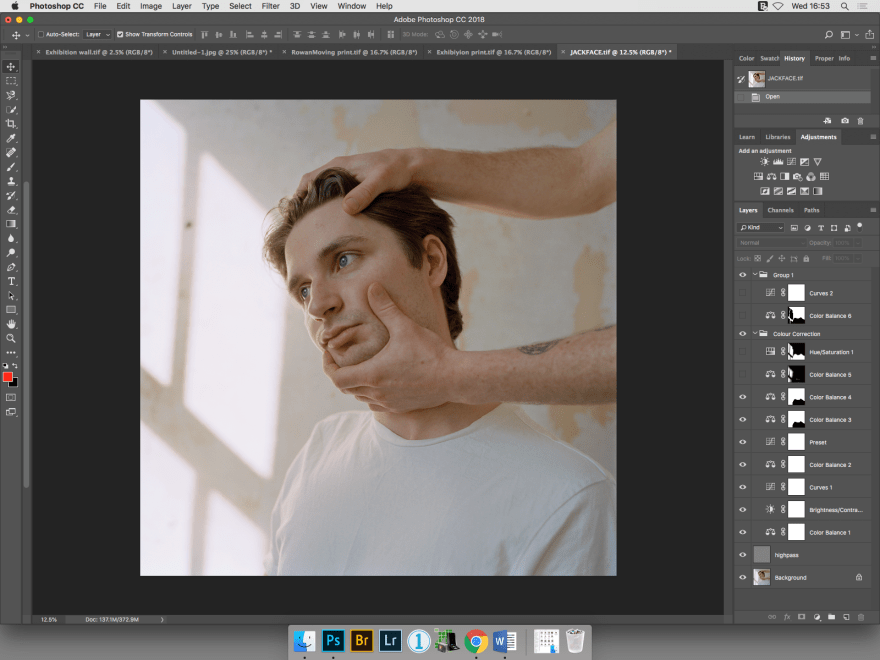
One of the biggest challenges I have had when colour correcting is getting all the of the white T-shirts a clear white. My images were very blue and I had to add a lot of layers in order to sort this out. I layered curves and colour balance layers in order to get the white tones in the images as well get getting the skin colour the right tone.
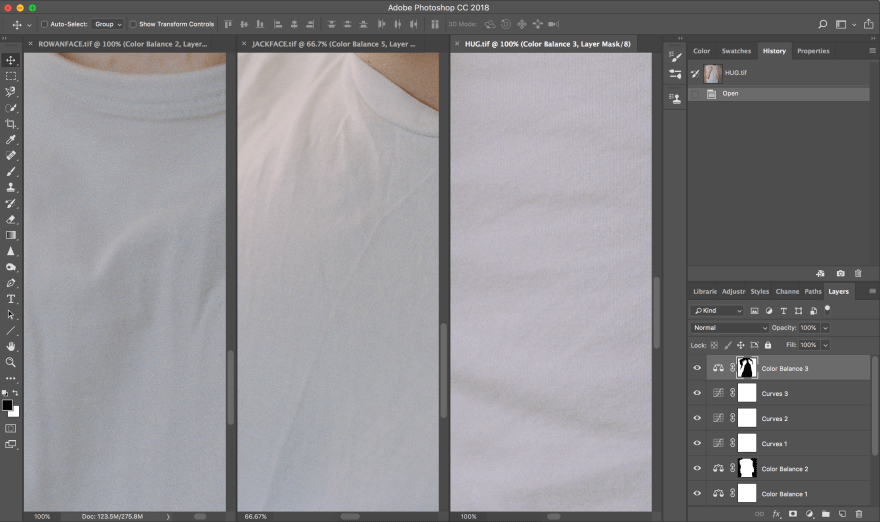
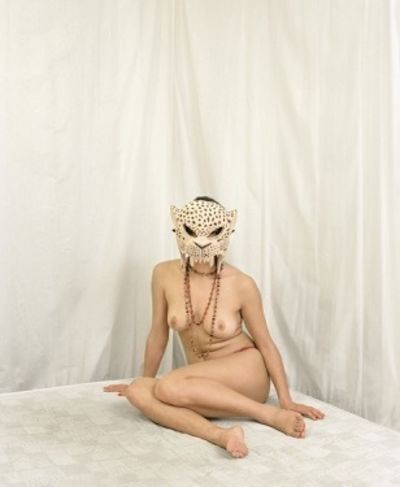
Above is an image by Yann Gross that I was using as a colour reference for my three images containing mainly skin tones and white. It took me a very long time to get this colour tone, particularly with the white in the image, as they were very blue until I begun changing them due to this comparison. The skin tones are also much better as they are peachy and more fleshy, rather than colder with a blue tint.
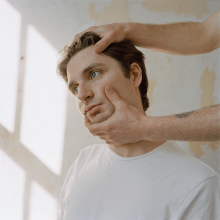
Finals Before and After Post Production:


